Prepare on-device workspace
In this section, we will jailbreak the device then install some useful tools.
Since this iBoot exploit is related to filesystem, we need to have full access to the disk device in order to be able to control data on it. Accessing disk at block level usually requires root privileges, so you need unsigned code execution at kernel level or lower. This can be acheived by using another low-level exploit (such as checkm8) to boot into a SSH ramdisk or any other userland jailbreak.
For iOS 7.0.4 on iPad 4th, we will use the original evasi0n 7 jailbreak tool. This untethered jailbreak patches task_for_pid0, so we are able to use kloader later if needed. Important note, evasi0n 7 tool is very old, and who says old software often says old system. The best setup I could find to run evasi0n is to use MacOS X 10.8 Mountain Lion with the default iTunes version (11.4) that comes shipped with. A sightly newer iTunes version that has better iOS 7 support could be a nice add-on for more stability, but stock one without any updates should works just fine. Also, the original evasi0n 7 jailbreak tries to download some files required for the jailbreak process from a defunct website, causing an "invalid to retreive package from internet" error. To get around this issue, download a patched evasi0n 7 application here that will fetch those files directly from this website.
Connect your device on your computer, confirm the trust, then open evasi0n 7 application.
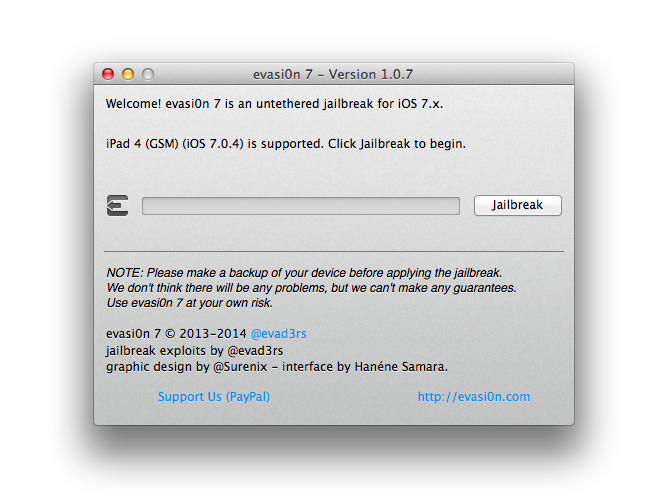 Your device should be detected. Click the "Jailbreak" button then follow the instructions. At the middle of the process, an evasi0n 7 loader app will be installed on your device. Open it to continue the jailbreak process.
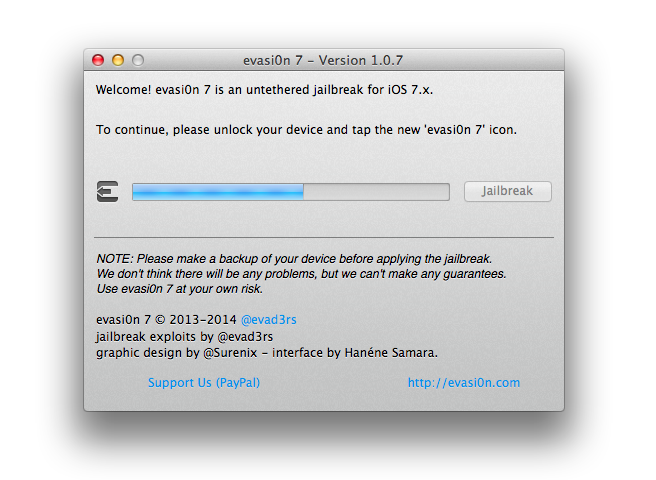
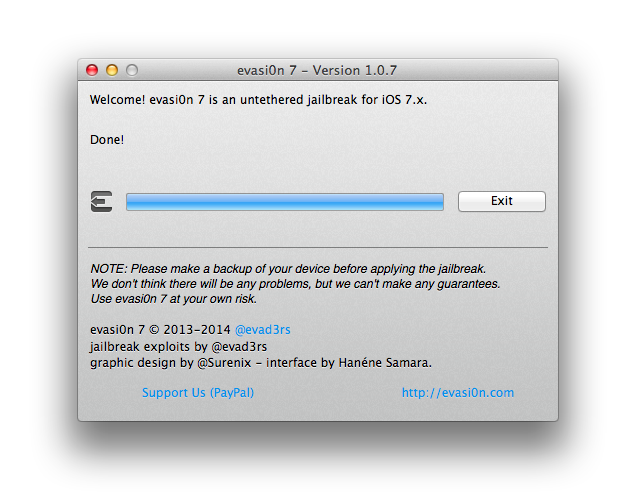 Device will reboot and a payload will run at boot to complete the process.
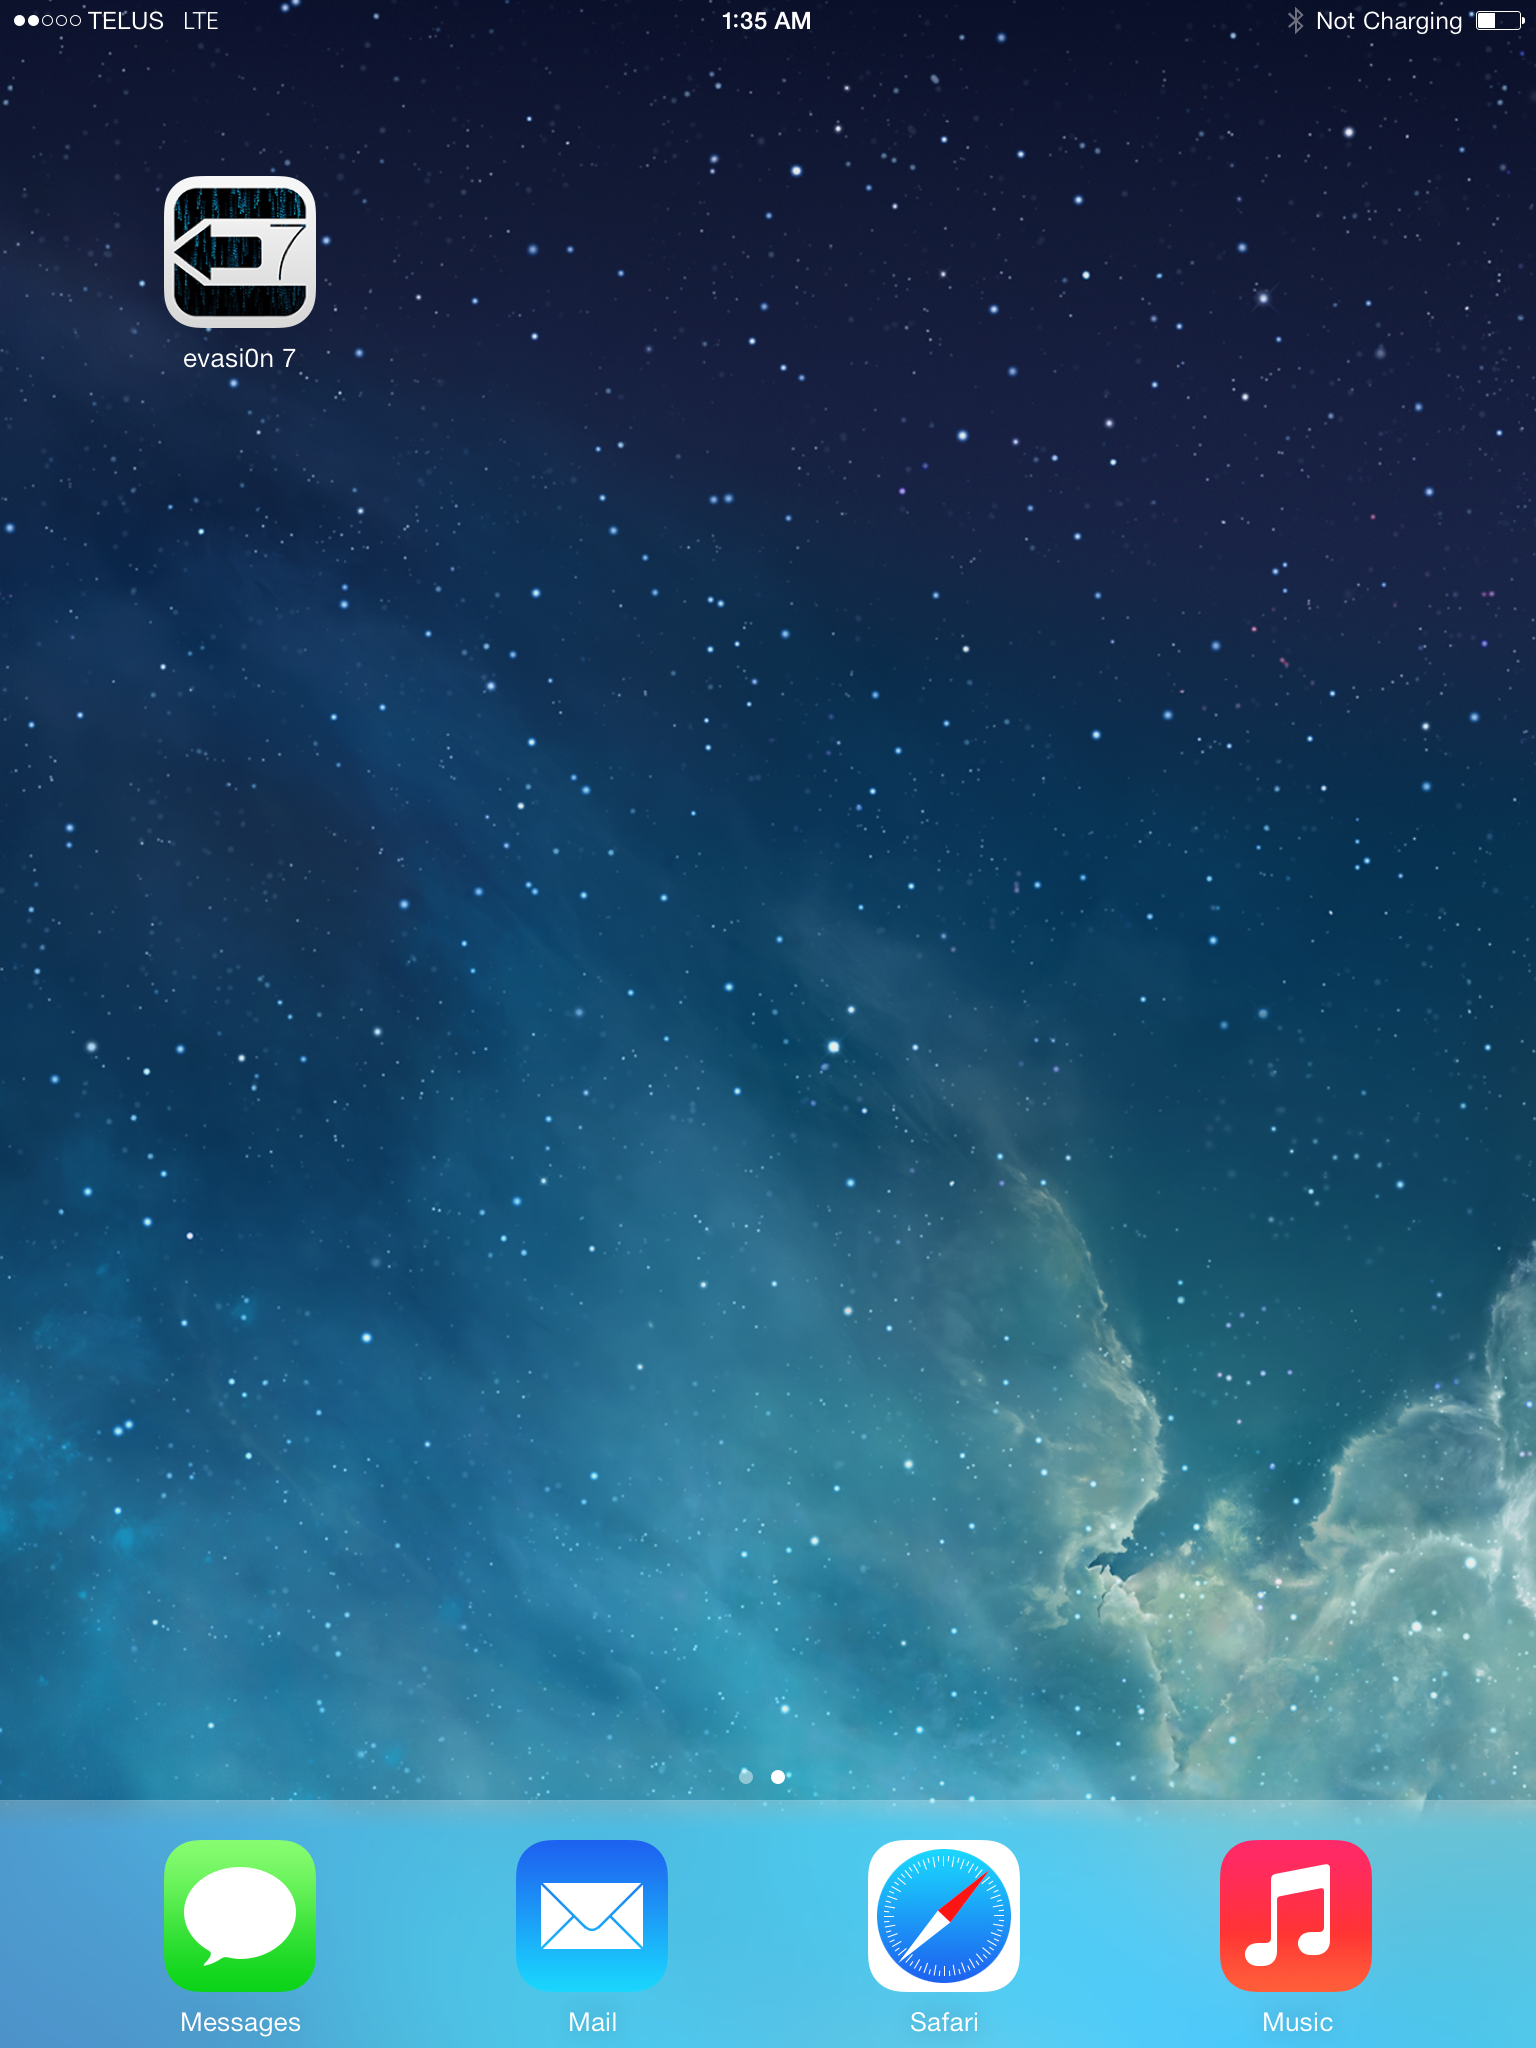
After device is rebooted, you should see that *interesting* icon on the next home screen page.
Device will reboot and a payload will run at boot to complete the process.
After device is rebooted, you should see that *interesting* icon on the next home screen page.
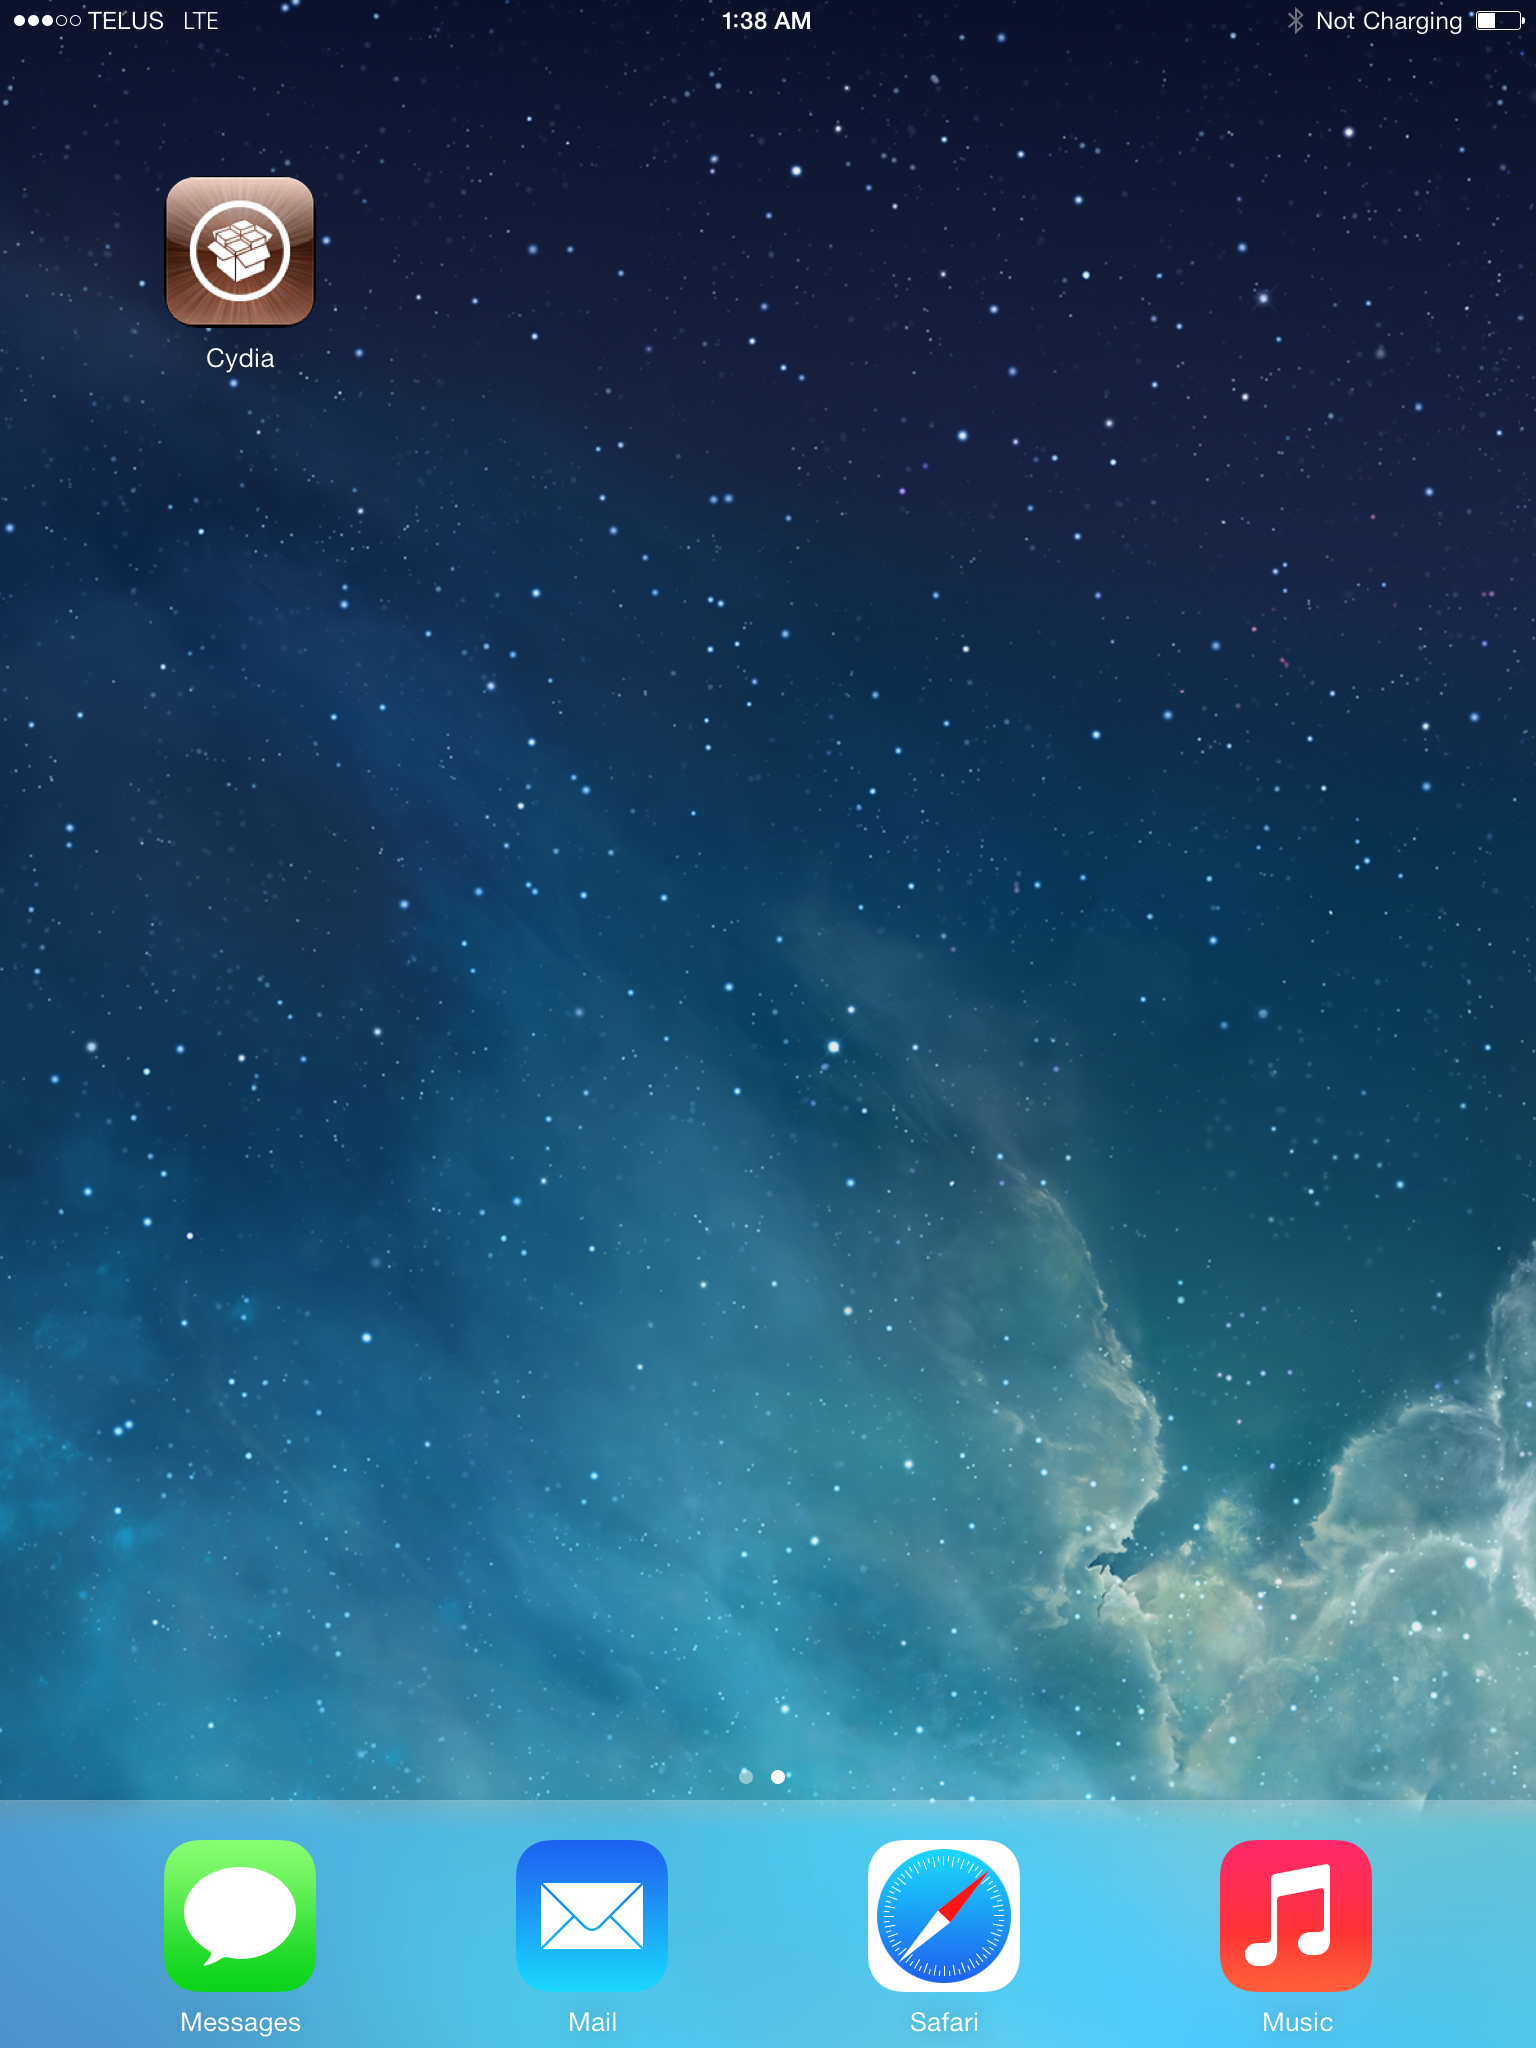
Open Cydia, delete dead sources (modmyi and ultrasn0w as of today), refresh, then do all the package updates. This will update Cydia itself as well. Next, add this website Cydia repository, it contains many useful tools that you will need to work with on your device. Before adding this repo, you have to install on iOS trust store a newer Let's Encrypt SSL certificate that properly supports this website https. To do this, simply navigate here with your device, and install the self-signed ISRG Root X1. Now open back cydia, and add the source.
http://www.pmbonneau.com/cydia
Important note
If you still have issues adding the repo, it's possible to manually install the required packages on device using the dpkg command. Please read this part in my iOS 5.x HFS+ Heap Buffer Overflow writeup to learn about how to manually install .deb packages.
Once everything is working properly, install those packages on your device.
- OpenSSH from thebigboss
- hfsresize from pmbonneau
- gptfdisk from pmbonneau
- kloader 6.x from pmbonneau
- nano from saurik repo
pmbonneau-mac$iproxy 2022 22
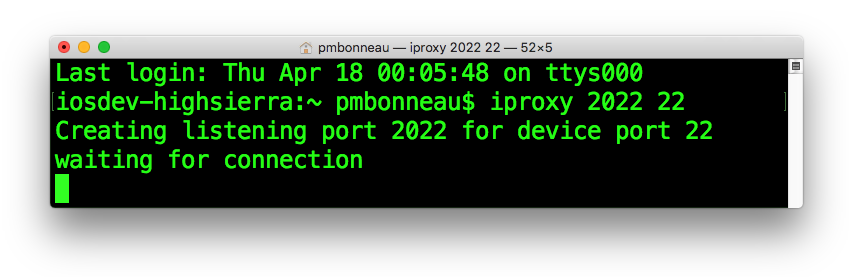 From there, you can connect to device using SSH on your Mac port 2022 (which points to the device port 22).
pmbonneau-mac$ssh -p 2022 root@localhost
The default password is "alpine", first thing to do is to change it. Fun fact, "alpine" is the internal codename of the very first iOS version.iPad-p102ap#passwd
We should have most tools needed for now. we are ready for the most bootloop-friendly part of this writeup, partition our device.